
 The first step after constructing and erecting the three building sections was to apply the plywood to the building. Once the buildings were square and level, the plywood helped us to maintain the square status of the building, while creating an interior and exterior space to each individual room.
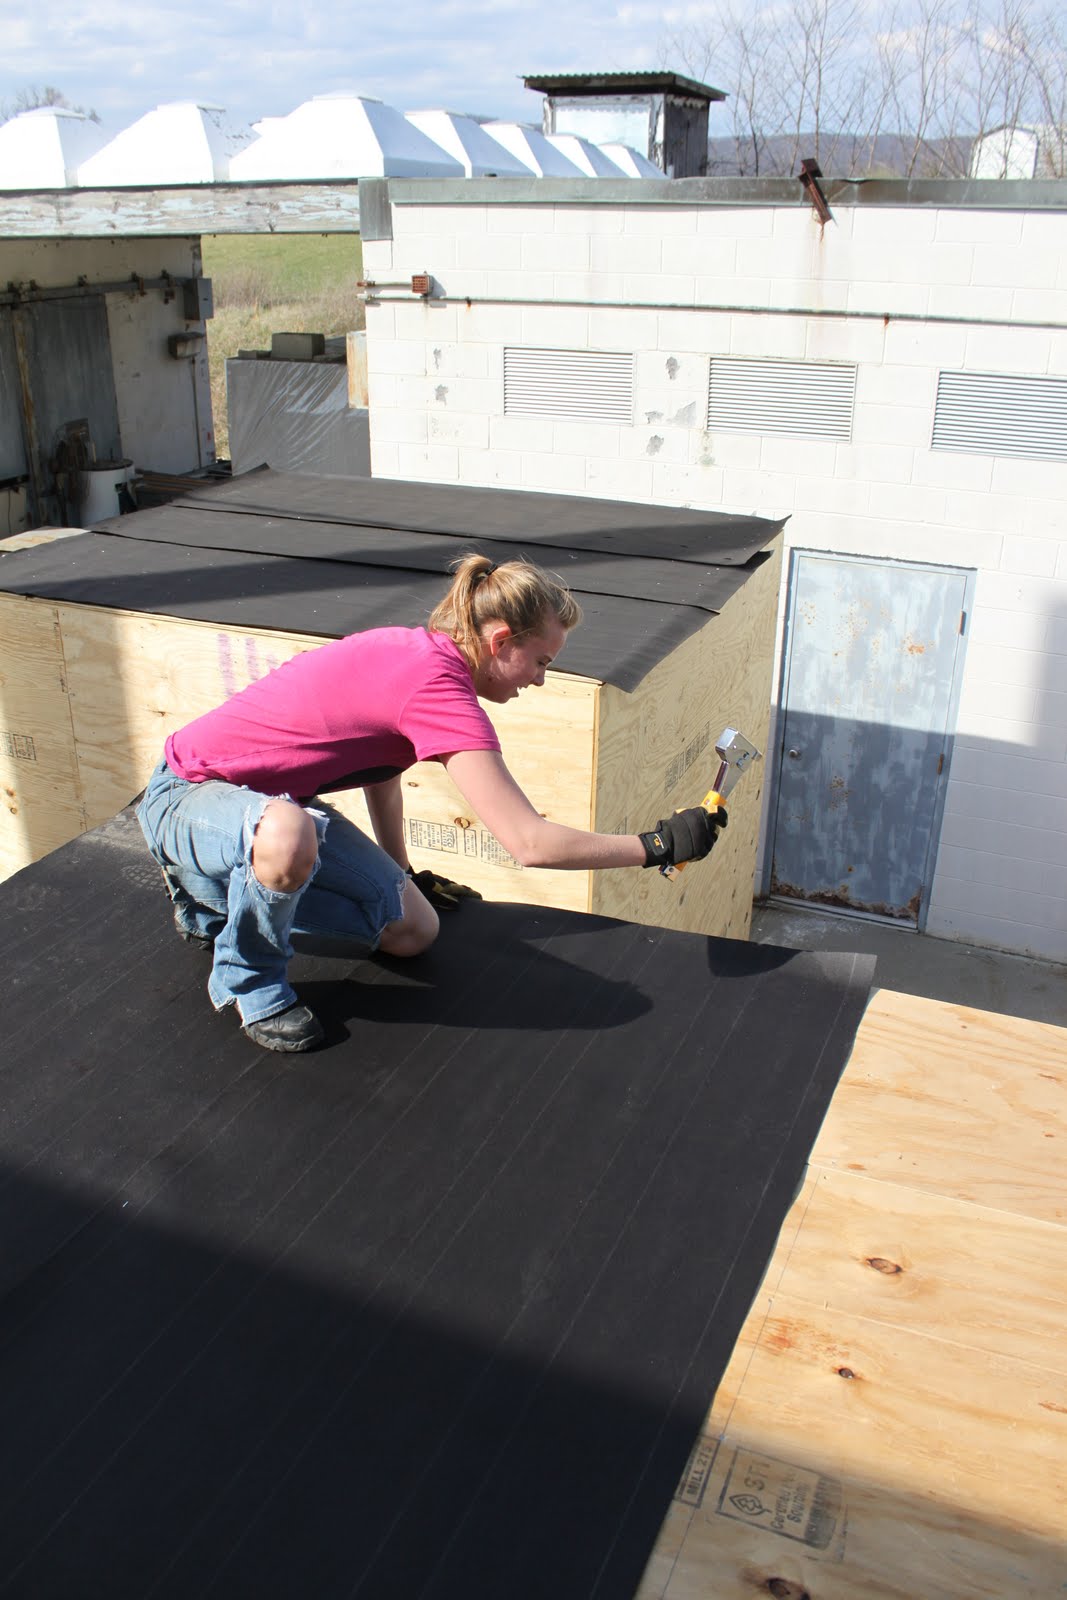 After the plywood was put on the building, we added tar paper to the exterior in order to help us keep water off and out of the building. Although tar paper is not water tight, it is water resistant and was very helpful in preparing each building for its final exterior material.
With the application of the tar paper on the building finalized, battons were then mounted to the building so that cladding could be added to the exterior.


Using the battons on two walls of each building, the cladding was mounted to the necessary sides using a drill, a screw gun, and when needed, a clamp or ratchet strap. The screws were screwed into each batton to ensure a sturdy exterior rain screen for the building sections. The design for the buildings was to have the wood cladding wrap up and around the entire exterior in one direction so that continuity of the ground plane's direction was maintained. The seams on the buildings will align with the seams in the deck on site.

Once cladding was applied to all of the appropriate walls, any excess was trimmed to create a smooth seam between roof and wall.


